
Add a table
Creating a table using Table content box
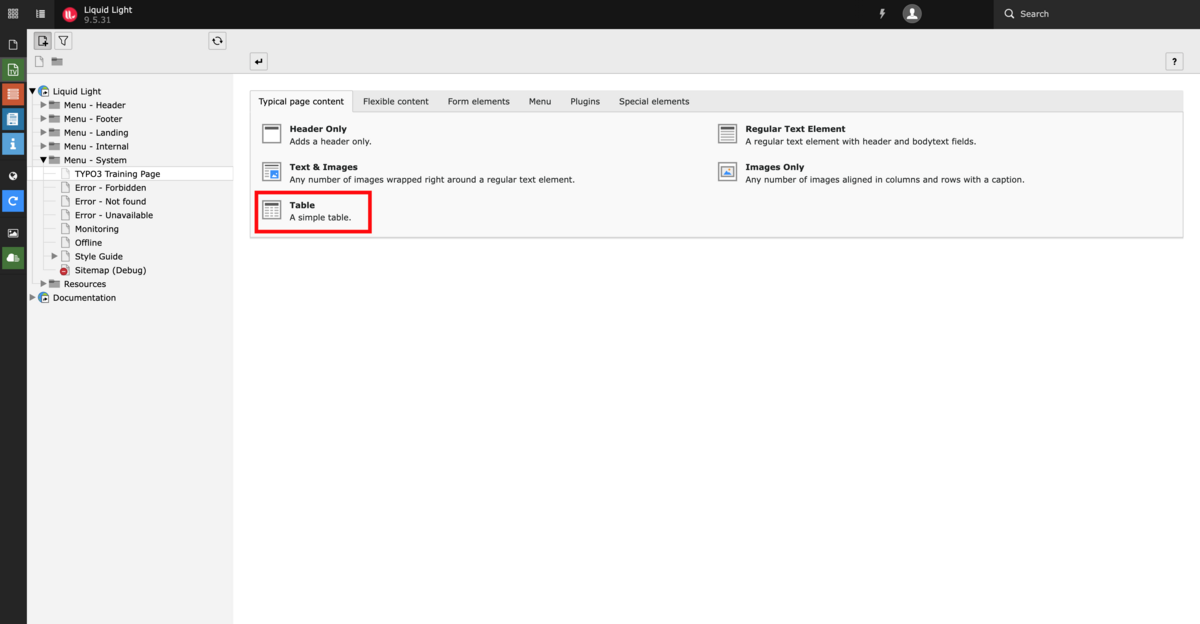
You can create a table by heading to Typical Page Content and selecting, Table - a simple table.
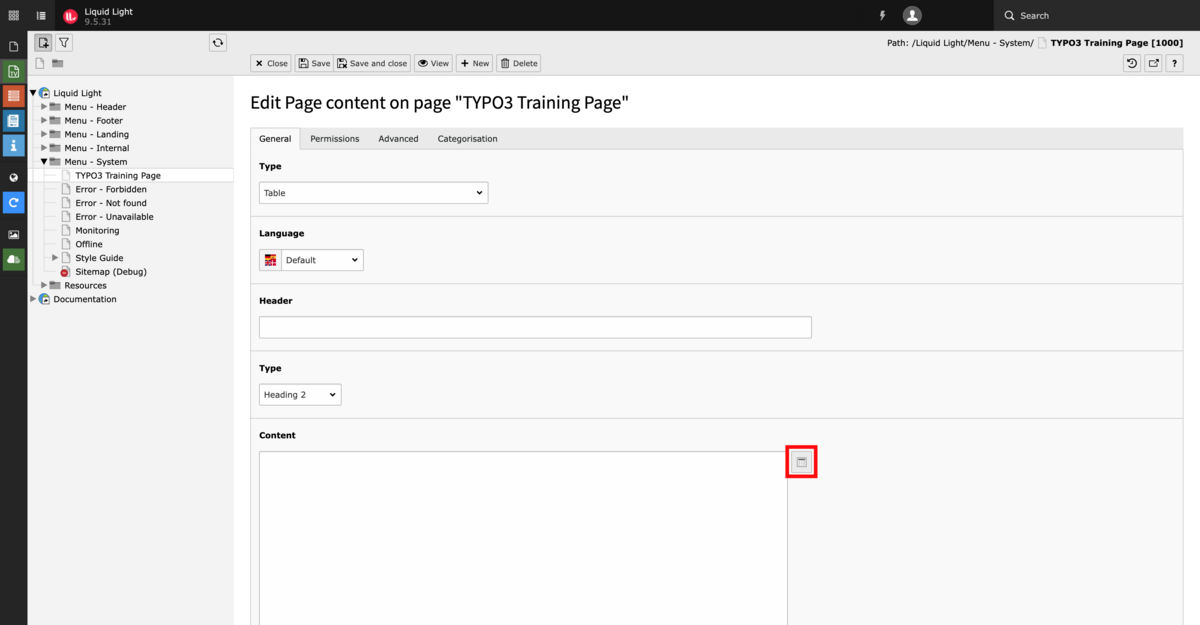
This will open a content box that looks simular to the Text box, however, you access the ‘Table wizard’ by clicking on its icon to the right of the ‘Text’ field.
The Table wizard allows you to create and update tables through an intuitive interface. New tables are automatically populated with four empty columns. You can add data to the table by typing or pasting it into the input fields. You interact with the tables by using the buttons associated with each row and column:
- The buttons to the left of each row allow you to move, delete and add a new row below the row they are associated with.
- The buttons below each column allow you to move, delete and add a new column to the left of the column they are associated with.
By default, the first row of the table will be used as the table header. If you do not need to use a table header leave the input fields of the first row empty.
When you click 'Save and close', it will take you back to the orignal content box. There you will see the table content element represents a table as a ‘|‘ delimited text block.
Creating a table within the Rich Text Editor
You can create a table withing the text content box by following these steps.
- Add a Text content box to your page.
- Within the content box, you will see a table icon.
- When you click on this icon, you will be able to hover over the grid to depict how many rows and columns to insert into the text.
- Once the table is inserted, you can add extra columns and rows by left-clicking on the table.
The benefit of adding a table within the RTE, is that it can be surrounded by other content.